I recommend Arvixe because they offer amazing quality, affordable fees and good customer service. For a limited time, you can use the coupon code, “arvixeihc20” (without the quotation marks) to save 20% of the fees. They also give you a FREE domain name for life (some hosts sell a domain name for about N3,000/$15).
After the first term (number of years) you sign up for at $48 (10,000) per year, the renewal rate for Arvixe is $60 (N12,000) per year. This is very fair, compared to most other hosts.
In this free tutorial, I share my Arvixe affiliate link and when you make a purchase through the link, I get a commission (at no extra cost to you) to support my work. But this didn’t influence my recommendation, because all hosting services have similar programs. I recommend Arvixe because I believe they offer good quality. You also get a 20% discount when you use the coupon code “arvixeihc20” (without the quotation marks).
Now the process, step by step:
#1: Get a hosting account with a FREE domain name from Arvixe
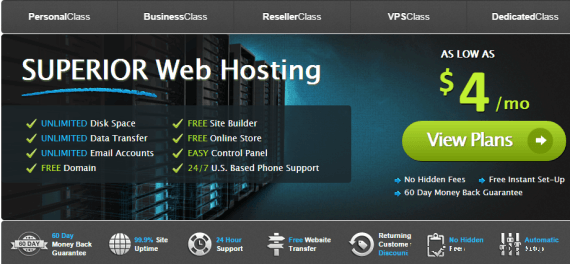
This is where your website “resides” online. Just click the Arvixe link to start.
When the page loads, click “View Plans”
The next page shows the two hosting plans Arvixe offers:
# PersonalClass: ideal for beginners ($4 per month)
# PersonalClass Pro: ideal for growing websites ($7 per month)
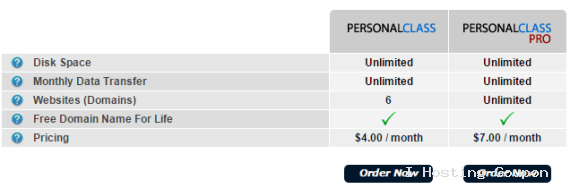
Click “Order Now” under the one you want
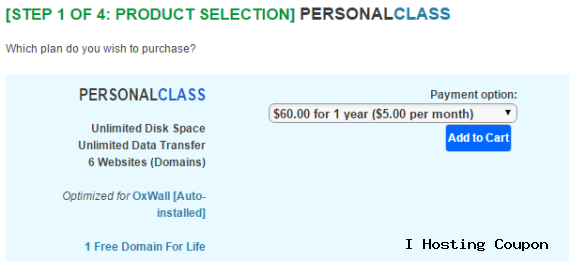
Choose the duration of the hosting you want and click “Add to Cart”. I recommend a minimum of 1 year.
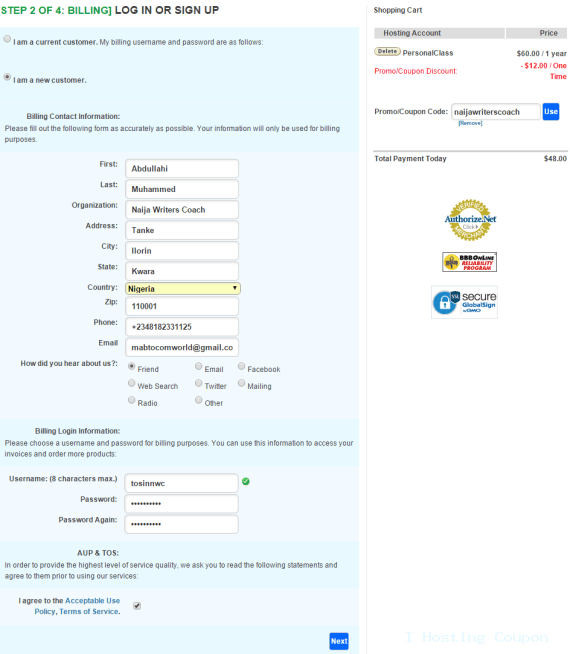
The next page shows the price (e.g. $60 for 1 year). By the right side, enter the coupon code, “arvixeihc20” (without the quotation marks) and click “Use”. That code SAVES you 20% and the price changes to $48 (N10,000). How sweet!
Choose that you’re a new customer and fill the billing details on the page. Check that you agree to their terms and click “Next”.
Choose the option to register a new domain name and enter your desired domain name (e.g., “awesomenaija”). Choose the extension you want (e.g. “.com” “.net” “.org” etc.). To make the domain name easy to remember, make it short and avoid numerals and hyphens. Scroll down and choose a hosting username and password. To make it easy to remember, I suggest you choose the same username and password you chose for billing in the previous step.
Scroll down and choose “WordPress” under “Automatic Software Installation”
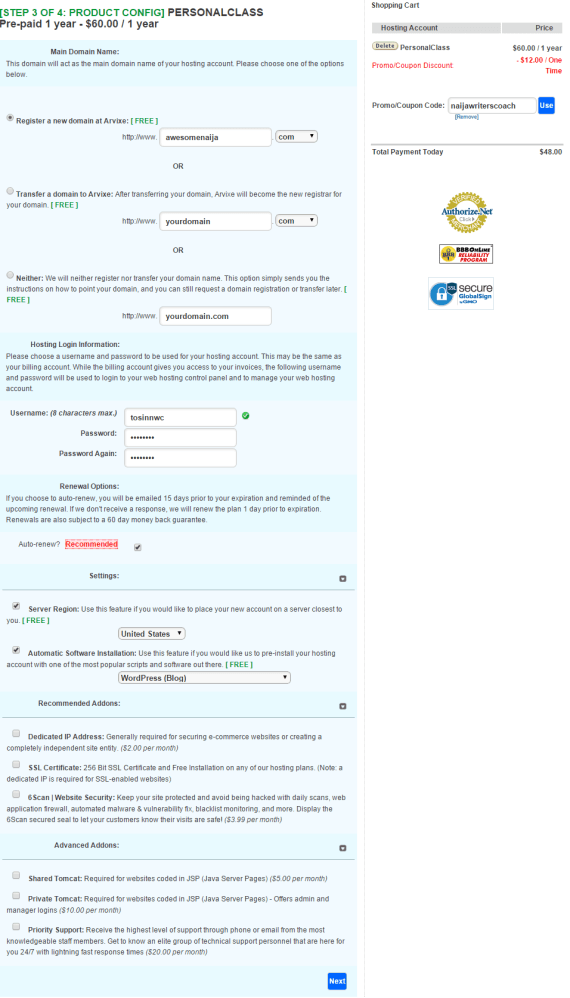
The “Recommended Addons” and “Advanced Addons” are optional services. I would not buy them but you can do so if you need them. Click “Next”. If the domain name you choose is available, the next page loads. If not, you’ll be told to choose another domain name.
The next page shows a summary of your order. Click “Next”. Again, click “Place this order”.
On the next page, choose your preferred method of payment (credit card or PayPal) and complete your order.
NB: After making payment, you’ll be required to scan and upload your government-issued ID card (e.g. international passport, drivers’ license or national ID card) to verify your identity. This is to prevent fraud and identity theft. Sometimes, this step is done before you make payment.
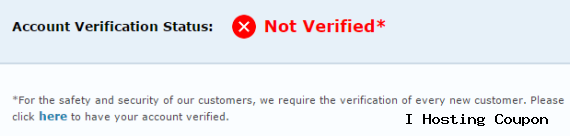
Click the link shown in the image above to verify your account.
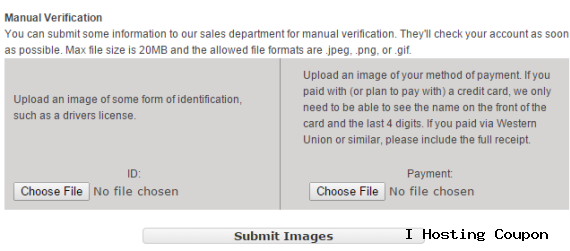
You have to upload BOTH an ID Card and a scan or snapshot of your method of payment (e.g. credit card). You can cover the vital details on your credit card. Just make sure your full name and the last 4 digits on the card are visible.
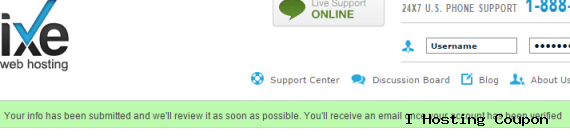
Within few minutes, your account is verified and you’re notified by email.
If the verification came after you’ve paid, now you can start blogging. If it came before you have paid, just login now and pay so you can start blogging right away.
Now you have a hosting account and a FREE domain name with WordPress already installed. Congratulations! ![]()
NB: Arvixe would send you emails containing your order and WordPress login details. Keep the email safe.
#2: Login to your WordPress site and publish your first post
This post doesn’t have to be perfect; it just has to be published. So go ahead and post any content. How?
Open a new browser tab and go to “http://yourdomain.com/wp-admin” (replace “yourdomain” with your newly registered domain name). Check your email for the username and password you and login with them.
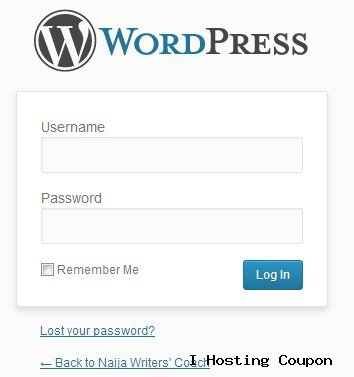
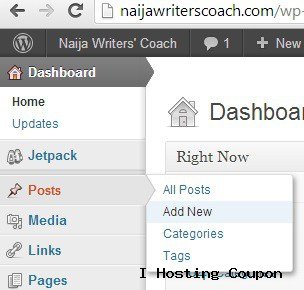
- The next page displays the dashboard, which is the “back side” of your website from where you set everything that appears on the “front side”. On the left side of your dashboard screen are menus. Position the mouse on “Posts” and click “Add New” from the sub-menus that will pop out.
- On the next page, enter the title of your post in the first tab and paste the content of your post in the second tab. Click “Publish”.
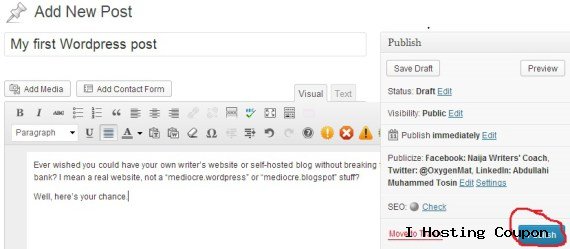
- On the next page, click “View post” to see the post you just published on the front end of your website or self hosted blog as it will appear to your visitors.
- go to arvixe